Contributions
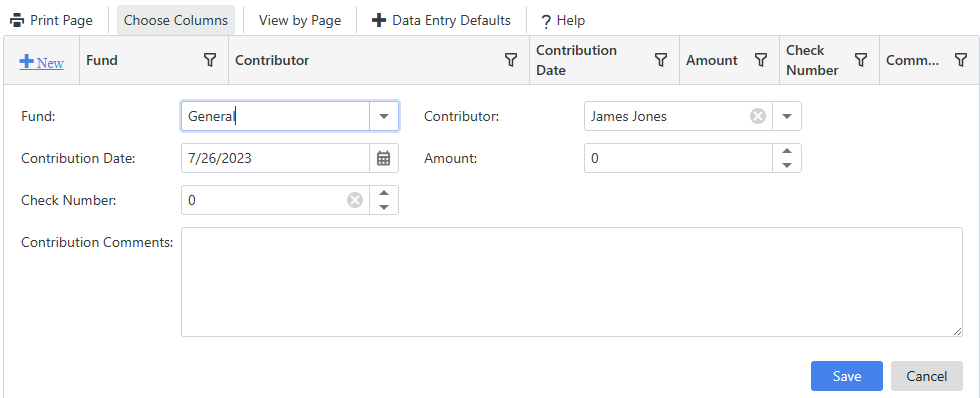
Figure 4.11 shows the Contributions Data Entry page. Contributions are non-member contributors who have made contributions.
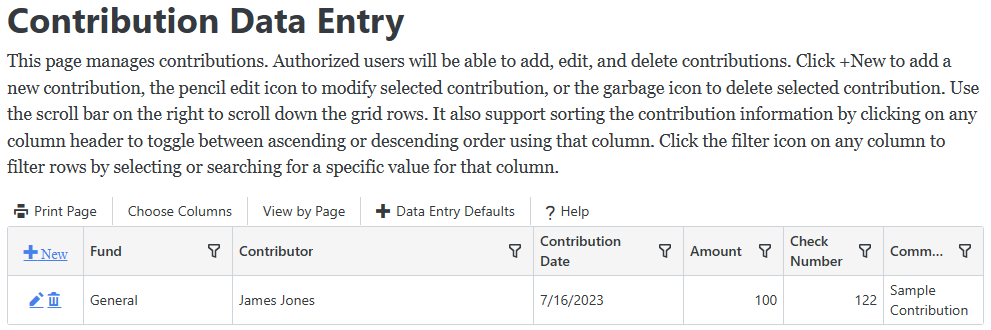
Figure 4.11
Figure 4.11 shows the Contributions Data Entry page. Contributions are non-member contributors who have made contributions.
Figure 4.11
 in any column heading such as Fund then click the checkbox for the desired values to display just those contributions in the list or enter text to search on.
 will appear in that column to indicate whether it is sorted in ascending or descending order.
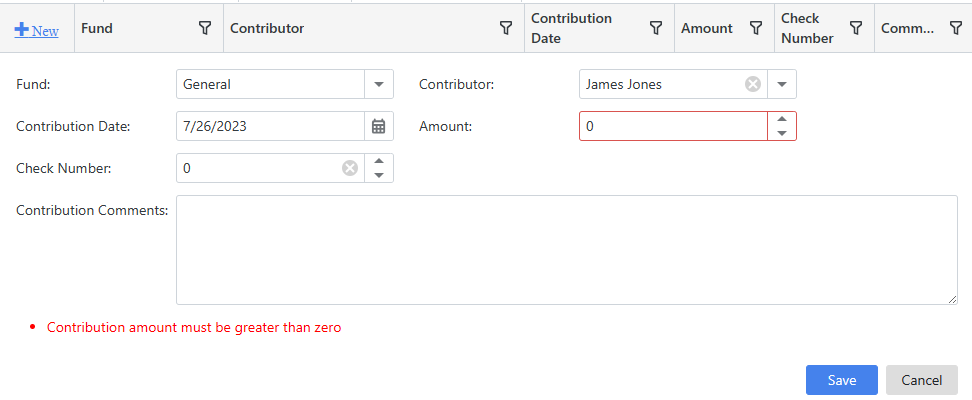
 next to the contribution you want to update in the Contributions list. It will display the contribution's values in the input area. Enter any changes and click Save to save your changes or Cancel to cancel your changes. It will displays errors just as it does when adding a contribution.
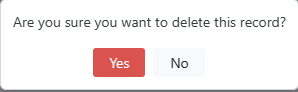
 next to a contribution in the contributions list you want to delete. It will prompt you to confirm that you want to delete this record as shown in Figure 4.15. Click Yes if you want to delete the contribution.