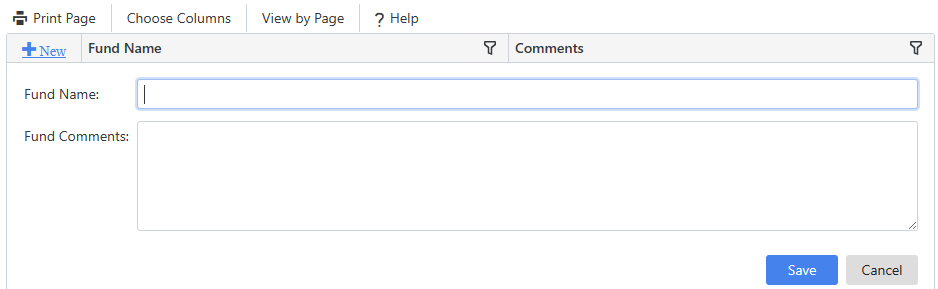
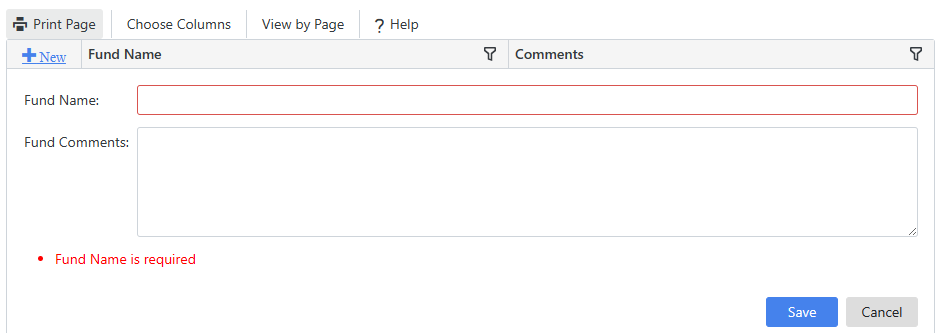
Figure 4.1 shows the Funds Data Entry page. Funds are used to track contributions made for a specific purpose, such as a building fund. Once a fund is setup you can apply contributions to the fund. You cannot delete a fund that has contributions.   
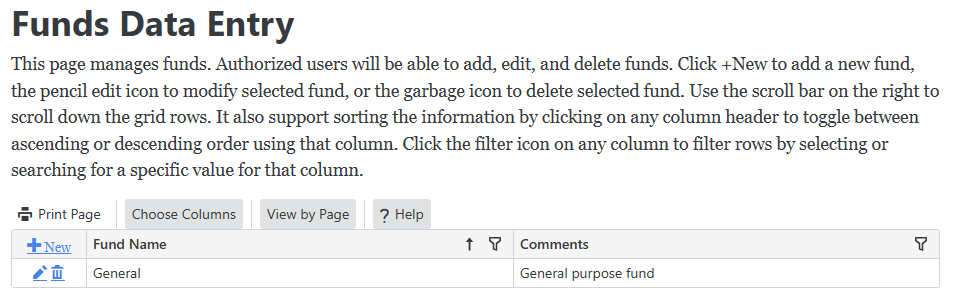

Figure 4.1

Filtering Funds List

Click in any column heading such as Comments then click the checkbox for the desired values to display just those funds in the list or enter text to search on.  


Sorting Funds List

Click any heading column to sort by that column. then will appear in that column to indicate whether it is sorted in ascending or descending order.


Adding a Fund

Click +New link to add a new fund. It will display an empty input form as shown in Figure 4.2. It will clear the input form so you can enter all new values. Enter a fund description and comments and click Save to add the fund or Cancel to return to the funds list.  If you do not enter the required information, the input field will be highlighted with the error message displayed below as shown in Figure 4.3

Figure 4.2

Figure 4.3


Updating a Fund

Click next to the fund you want to update in the funds list. It will display the fund's values in the input area. Enter any changes and click Save to save your changes or Cancel to cancel your changes. It will displays errors just as it does when adding a fund.


Deleting a Fund

Click next to a fund in the funds list you want to delete. It will prompt you to confirm that you want to delete this record as shown in Figure 4.4. Click Yes if you want to delete the fund.  It will display an error message "Fund cannot be deleted. Fund is in use." if you try to delete a fund that is currently in use, that is, a contribution has been made to that fund.

Figure 4.4


Print Page

Click Print Page to displays the browser print page window in another browser windows.


Choose Columns

Click Choose Columns to display a popup form as shown in Figure 4.5 to show or hide columns in the grid by clicking the box next to the column name. Click x to close the Column Chooser form.

 Figure 4.5


View by Page

By default all records in the grid are displayed. For example, if you had 50 rows, all rows would by displayed to fit your current window size and using the mouse to scroll vertically. Click View by Page to view 10 records at a time with a pager displayed at the bottom of the grid.


Help

Click ? Help to view help information for this page in another browser window.